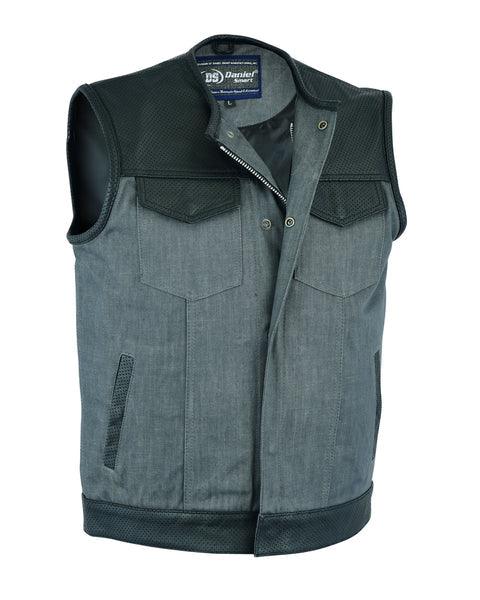
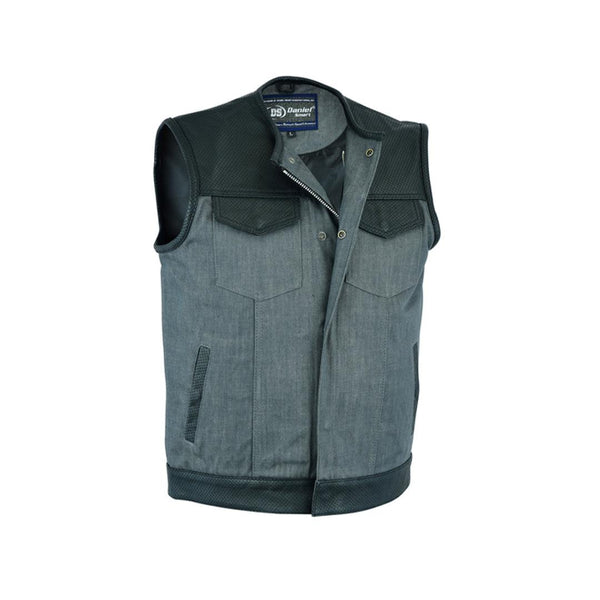
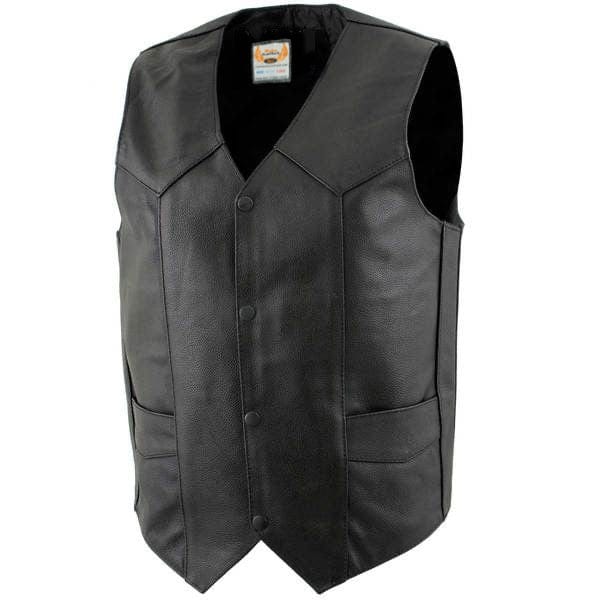
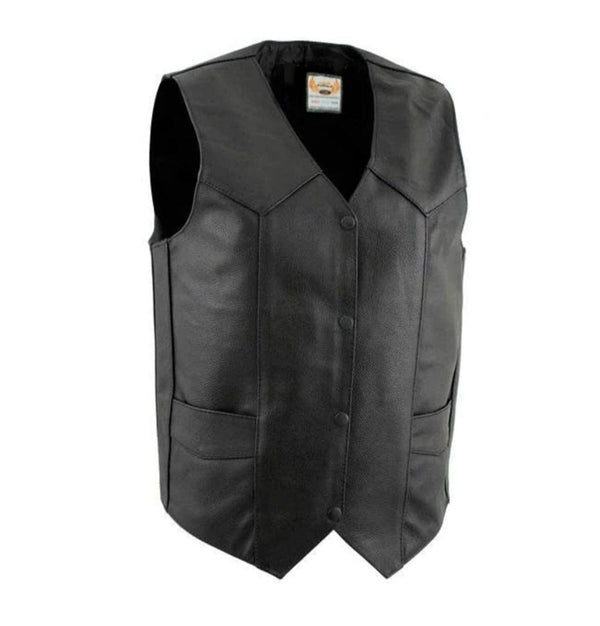
How Do You Take Care Of a Leather Vest?
Leather vests are timeless pieces that not only add style to your wardrobe but also serve functional purposes across various lifestyles. Whether you're a motorcycle enthusiast, a fashion-forward individual, or someone looking to enhance their rugged appeal, a leather vest can be a staple in your closet. However, to ensure your leather vest maintains its allure and longevity, proper care is essential.
Importance of Proper Leather Vest Care
Preserving Quality and Appearance
Proper care ensures that your leather vest retains its original quality and appearance over time. Leather, being a natural material, is susceptible to drying, cracking, and fading if not maintained adequately. Regular cleaning and conditioning help prevent these issues, keeping your vest supple and enhancing its visual appeal.
Prolonging Lifespan
By adopting a routine care regimen, you extend the lifespan of your leather vest significantly. Leather biker vests, when cared for properly, can last for decades, becoming a cherished item that ages gracefully with time. Investing in maintenance saves you from premature replacements and allows you to enjoy your vest for years to come.
Protecting Against Environmental Damage
Leather vests often face exposure to various environmental elements such as sunlight, moisture, and pollutants. These factors can accelerate wear and tear if not addressed promptly. Conditioning treatments act as a barrier, protecting the leather from moisture and UV rays, thereby preventing damage and preserving its integrity.
Initial Care for a New Leather Vest
Proper care from the outset ensures that your new leather vest maintains its quality and appearance over time.
Inspecting the Leather
Before beginning any care regimen, it's essential to inspect your new leather vest thoroughly. Check for any imperfections, discolorations, or loose threads that may have occurred during manufacturing or shipping. Ensure all seams are intact and examine the surface for scratches or marks.
Initial Conditioning
Choosing the Right Conditioner
Select a leather conditioner specifically formulated for the type of leather used in your vest. For full-grain or top-grain leather, opt for a conditioner that nourishes the natural oils without leaving a greasy residue. Genuine leather may require a lighter conditioner to avoid over-saturation.
Conditioning Process
-
Clean the Surface: Use a soft, dry cloth to gently wipe away any dust or dirt from the leather surface. Avoid using water or harsh cleaners that can damage the leather.
-
Apply Conditioner: Dampen a clean, soft cloth with a small amount of leather conditioner. Test the conditioner on a small, inconspicuous area of the vest to ensure compatibility.
-
Even Application: Apply the conditioner evenly to the entire surface of the vest, using gentle, circular motions. Pay special attention to seams and areas prone to dryness.
-
Allow Absorption: Let the conditioner absorb into the leather for the time recommended by the manufacturer, usually around 15-30 minutes.
-
Buffing: Using another clean, dry cloth, buff the vest gently to remove any excess conditioner and achieve a smooth, lustrous finish.
Waterproofing the Vest
Importance of Waterproofing
Waterproofing your leather vest helps protect it from moisture, spills, and inclement weather conditions. This step is crucial, especially if you plan to wear your vest outdoors or in unpredictable climates.
Choosing a Waterproofing Product
Select a waterproofing product designed specifically for leather vests. Silicone-based sprays or wax-based waterproofing solutions are commonly used and provide effective protection without compromising the leather’s breathability.
Waterproofing Process
-
Clean the Vest: Ensure the leather vest is clean and dry before applying any waterproofing product. Use a soft cloth to remove any dust or debris.
-
Even Application: Shake the waterproofing spray or wax well before use. Hold the canister approximately 6-8 inches away from the vest and spray an even layer over the entire surface.
-
Allow Drying: Let the waterproofing product dry completely according to the manufacturer's instructions. This typically takes 1-2 hours, depending on the product used.
-
Reapply as Needed: For optimal protection, consider reapplying the waterproofing treatment periodically, especially after exposure to heavy rain or prolonged use.
Routine Maintenance for Your Leather Vest
Maintaining a regular cleaning and conditioning routine is essential to preserve the quality and longevity of your leather vest.
Regular Cleaning
Dusting Off the Vest
Use a soft-bristled brush or a dry microfiber cloth to gently remove dust and debris from the surface of your leather vest. This prevents dirt particles from settling into the leather pores and causing damage over time.
Wiping with a Damp Cloth
For more stubborn dirt or stains, lightly dampen a soft cloth with water. Avoid using excessive water or soap, as it can stain or damage the leather. Gently wipe the affected area and immediately dry it with a clean, dry cloth.
Conditioning the Leather
Choosing the Right Leather Conditioner
Select a high-quality leather conditioner suitable for your specific type of leather vest. For full-grain or top-grain leather, opt for a conditioner that nourishes and protects the natural oils without leaving a residue. Genuine leather may require a lighter conditioner to prevent over-saturation.
How Often to Condition
Condition your leather vest every 3 to 6 months, depending on usage and environmental exposure. In dry or hot climates, more frequent conditioning may be necessary to keep the leather supple and prevent drying out.
Conditioning Process
-
Clean the Surface: Before conditioning, ensure the leather vest is clean and dry. Use a soft cloth to gently remove any dust or dirt.
-
Apply Conditioner: Dampen a clean, soft cloth with a small amount of leather conditioner. Test the conditioner on a small, inconspicuous area first to ensure compatibility.
-
Even Application: Apply the conditioner evenly to the entire surface of the vest, using gentle, circular motions. Focus on areas prone to dryness or cracking, such as seams and edges.
-
Absorption Time: Allow the conditioner to absorb into the leather for 15-30 minutes, or as recommended by the manufacturer.
-
Buffing: Using a separate clean, dry cloth, buff the leather gently to remove any excess conditioner and achieve a smooth, polished finish.
Polishing for Shine
To enhance the luster of your leather vest, consider polishing it occasionally:
- Use a high-quality leather polish or cream specifically formulated for your type of leather.
- Apply a small amount of polish with a soft cloth, working it into the leather in circular motions.
- Buff the vest with a clean cloth to achieve a glossy shine.
Regular polishing not only adds shine but also provides an additional layer of protection against moisture and wear.
Deep Cleaning Your Leather Vest
Regular deep cleaning is crucial to maintain the integrity and appearance of your leather vest.
When and Why Deep Cleaning is Necessary
Importance of Deep Cleaning
Deep cleaning your leather vest is necessary periodically, especially if it's exposed to heavy dirt, stains, or prolonged use without regular maintenance. It helps remove embedded dirt, oils, and grime that regular cleaning may not address, preserving the leather’s quality and extending its lifespan.
Signs It's Time for Deep Cleaning
- Visible Stains: If your leather vest has noticeable stains or discolorations that regular cleaning doesn’t remove.
- Build-Up of Dirt: When the surface feels gritty or rough to the touch, indicating accumulated dirt and oils.
- Loss of Luster: If the leather appears dull or lacks its usual shine, deep cleaning can restore its natural sheen.
Materials Needed for Deep Cleaning
Ensure you have the following materials before beginning the deep cleaning process:
- Soft-bristled brush: To gently remove surface dirt and debris.
- Leather cleaner: Choose a cleaner specifically formulated for your type of leather vest.
- Soft cloths: Use for applying cleaner and drying the vest.
- Water: Use sparingly for dampening cloths; avoid soaking the leather.
- Leather conditioner: To replenish moisture after cleaning.
Step-by-Step Deep Cleaning Process
Removing Surface Dirt
- Brushing: Use a soft-bristled brush to gently brush off any loose dirt or debris from the surface of the leather vest. Work in gentle, circular motions to avoid scratching the leather.
Cleaning with a Leather Cleaner
-
Test the Cleaner: Before applying the cleaner, test it on a small, inconspicuous area of the vest to ensure compatibility and check for any adverse reactions.
-
Apply Cleaner: Dampen a soft cloth with the leather cleaner according to the manufacturer's instructions. Gently rub the cloth over the entire surface of the vest, focusing on areas with visible stains or dirt buildup.
-
Work in Sections: Clean the vest in small sections to ensure thorough coverage and effective removal of dirt. Avoid saturating the leather; use minimal moisture.
Drying the Leather Vest Properly
-
Dry with a Cloth: After cleaning, use a clean, dry cloth to blot and absorb excess moisture from the leather. Do not use heat sources such as hairdryers, as they can damage the leather.
-
Air Dry: Allow the leather vest to air dry naturally in a cool, dry place away from direct sunlight or heat sources. Ensure it is completely dry before proceeding to the next step.
Conditioning After Cleaning
-
Apply Conditioner: Once the vest is fully dry, apply a small amount of leather conditioner with a clean, soft cloth. Condition the entire surface of the vest, using gentle, circular motions to work the conditioner into the leather.
-
Buffing: Allow the conditioner to absorb for 15-30 minutes, then buff the vest with a dry cloth to remove any excess conditioner and restore its natural shine.
Stain Removal Techniques for Your Leather Vest
Knowing how to effectively remove stains from your leather vest is essential to maintaining its pristine appearance.
Identifying Common Stains
Water Stains
Water stains on leather vests appear as lighter spots or rings caused by moisture. They can occur from raindrops, spills, or even regular cleaning if not dried properly.
Oil and Grease Stains
Oil and grease stains are dark spots that can penetrate leather, caused by contact with oils from skin, food, or machinery. These stains are challenging to remove without proper care.
Ink Stains
Ink stains on motorcycle vests are typically dark and can spread quickly if not addressed promptly. They often occur from leaky pens or accidental contact with inked surfaces.
Food and Drink Stains
Food and drink stains on leather vests can range from light discolorations to dark spots, depending on the type of food or beverage spilled. These stains can be particularly stubborn if not cleaned promptly.
Safe Stain Removal Methods
General Guidelines
- Act Quickly: Address stains as soon as possible to prevent them from setting into the leather.
- Spot Test: Always test any cleaning method or product on a small, inconspicuous area of the vest to ensure it doesn’t cause damage.
- Patience: Stain removal from leather requires gentle and patient techniques to avoid damaging the material.
Water Stains
- Blotting: Immediately blot the water stain with a clean, dry cloth to absorb excess moisture.
- Air Dry: Allow the leather vest to air dry naturally away from heat sources. Once dry, gently buff with a soft cloth.
Oil and Grease Stains
- Absorbent Material: Place a small amount of cornstarch or talcum powder on the stain to absorb excess oil. Let it sit for several hours or overnight.
- Brush Off: Use a soft brush to gently remove the powder, then clean with a leather cleaner specifically designed for oil stains.
Ink Stains
- Quick Action: Blot the ink stain immediately with a clean cloth to absorb excess ink.
- Mild Soap Solution: Dampen a cloth with a mild soap solution (using gentle soap and water), then dab the ink stain lightly. Avoid rubbing to prevent spreading.
- Specialized Ink Removers: Consider using a specialized leather ink remover if the stain persists. Follow the manufacturer’s instructions carefully.
Food and Drink Stains
- Blotting: Immediately blot the stain with a clean, dry cloth to absorb excess liquid or residue.
- Mild Soap Solution: Use a cloth dampened with a mild soap solution to gently dab at the stain.
- Avoid Harsh Cleaners: Do not use harsh chemicals or cleaners, as they can damage the leather. Stick to gentle cleaning methods.
Tips to Avoid Staining Your Leather Vest
- Weather Protection: Use a waterproofing spray to protect your leather vest from water and moisture.
- Avoid Direct Contact: Be mindful of where you sit or place your leather vest to prevent accidental stains.
- Regular Maintenance: Maintain a regular cleaning and conditioning schedule to keep your vest resilient against stains.
Handling Specific Leather Issues
Maintaining the quality and appearance of your leather vest involves addressing specific issues such as scratches, scuffs, cracks, and fading.
Dealing with Scratches and Scuffs
Mild Scratches and Scuffs
-
Clean the Area: Use a soft cloth dampened with water to gently clean the scratched or scuffed area. Pat dry with a clean cloth.
-
Apply Leather Conditioner: Dab a small amount of leather conditioner onto the scratched or scuffed area. Gently massage the conditioner into the leather using circular motions.
-
Buffing: Use a clean, dry cloth to buff the area lightly. This may help diminish the appearance of minor scratches and scuffs by blending them with the surrounding leather.
Deep Scratches and Scuffs
-
Clean the Area: Follow the same initial cleaning steps as for mild scratches and scuffs.
-
Use Leather Repair Kit: Purchase a leather repair kit designed for deep scratches and follow the manufacturer's instructions. These kits typically include a filler compound and color-matching materials to repair and restore the damaged area.
-
Apply Filler: Fill the scratch or scuff with the provided filler compound, smoothing it evenly over the damaged area. Allow it to dry completely as per the kit’s instructions.
-
Color Matching: Use the color-matching materials from the kit to blend the repaired area with the rest of the vest. This step may involve applying layers and allowing them to dry between applications.
-
Conditioning: Once the repair is complete and dry, apply leather conditioner to the entire vest to ensure uniform texture and appearance.
Fixing Cracks in the Leather
Assessing the Damage
-
Clean the Area: Clean the cracked area with a soft cloth and water to remove any dirt or debris.
-
Apply Leather Conditioner: Apply a generous amount of leather conditioner to the cracked area and allow it to absorb. Conditioning helps soften the leather and may reduce the visibility of small cracks.
Using Leather Repair Kits
-
Choose a Repair Kit: Select a leather repair kit suitable for fixing cracks. These kits typically contain adhesive or filler compounds designed for repairing leather.
-
Apply Filler: Follow the kit instructions to apply the filler compound to the cracked area. Smooth it evenly over the crack and allow it to dry thoroughly.
-
Sand and Smooth: Once dry, gently sand the repaired area to smooth out any excess filler and blend it with the surrounding leather.
-
Color Matching: Use the color-matching materials provided in the kit to match the repaired area with the rest of the vest. Apply as directed to achieve a seamless finish.
-
Conditioning: After completing the repair, apply leather conditioner to the entire vest to maintain its suppleness and prevent future cracking.
Restoring Faded Leather
Cleaning and Conditioning
-
Clean the Vest: Clean the entire vest with a leather cleaner to remove dirt and oils that may contribute to fading.
-
Apply Leather Conditioner: Apply a liberal amount of leather conditioner to the vest, focusing on faded areas. Massage the conditioner into the leather and allow it to absorb.
Using Leather Dye or Creams
-
Choose a Color Match: Select a leather dye or color-restoring cream that matches your vest’s original color.
-
Apply Dye or Cream: Follow the manufacturer's instructions to apply the dye or cream evenly to the faded areas. Use gentle, circular motions to work the product into the leather.
-
Buff and Blend: Buff the treated areas with a clean, dry cloth to blend the dye or cream and achieve a uniform finish. Repeat the process if necessary for deeper color restoration.
-
Conditioning: Finish by applying leather conditioner to the entire vest to nourish the leather and maintain its restored color.
Storage Tips for Your Leather Vest
Proper storage is essential to maintain the quality and longevity of your leather vest.
Choosing the Right Storage Environment
Ideal Conditions
- Cool and Dry: Store your leather vest in a cool, dry place away from direct sunlight and heat sources. Excessive heat can dry out the leather, while sunlight can cause fading and discoloration.
- Ventilation: Ensure the storage area is well-ventilated to prevent moisture buildup, which can lead to mold or mildew growth on leather.
Hanging vs. Folding Your Vest
- Hanging: If you choose to hang your leather vest, use padded hangers to prevent stretching and maintain its shape. Avoid hanging in direct sunlight or damp areas.
- Folding: If folding, gently fold your leather vest along natural seams to avoid creasing. Use acid-free tissue paper to cushion folds and prevent permanent marks.
Using Dust Covers and Bags
- Dust Covers: Cover your leather vest with a breathable dust cover to protect it from dust and light exposure. Avoid using plastic covers, as they can trap moisture.
- Breathable Bags: Use breathable cotton or canvas bags for long-term storage to allow air circulation while protecting from dust and scratches.
Seasonal Care
Preparing for Winter
- Protecting from Snow and Rain: Apply a waterproofing treatment before winter to shield your leather vest from moisture. Reapply as needed throughout the season.
- Extra Conditioning: In colder weather, leather tends to dry out more quickly. Increase conditioning frequency to keep the leather supple and prevent cracking.
Summer Care
- Avoiding Sun Damage: Store your leather vest away from direct sunlight to prevent fading and discoloration. Use a UV protectant spray if wearing outdoors.
- Managing Heat and Humidity: Keep your leather vest in a cool, ventilated area. Avoid storing in hot, humid places like attics or basements.
Professional Care
When to Seek Professional Help
- Complex Stains or Damage: If your leather vest has stubborn stains or extensive damage, seek professional cleaning or repair services.
- Annual Maintenance: Consider professional cleaning and conditioning annually to keep your vest in optimal condition, especially if heavily worn.
Finding a Reputable Leather Specialist
- Research: Look for leather specialists with experience and positive reviews. Ask for recommendations from friends or check online directories for certified professionals.
Extending the Life of Your Leather Vest
Best Practices for Daily Wear
- Avoid Overexposure: Limit prolonged exposure to sunlight, rain, or extreme temperatures.
- Regular Maintenance: Clean and condition your leather vest regularly to keep it supple and resilient against wear and tear.
- Avoid Common Mistakes: Never use harsh chemicals or cleaners on leather. Stick to gentle, leather-specific products and techniques.
Conclusion
In conclusion, proper care and maintenance are key to preserving the quality and longevity of your leather vest. By following the recommended cleaning routines, storage tips, and seeking professional care when needed, you can ensure your vest remains in excellent condition, ready to be worn with pride for years to come.